Watermarks are a valuable tool for protecting your photos and maintaining your ownership and brand recognition when sharing them online. Here's a simple guide to creating watermarks for your photos:
Step 1: Choose Your Watermark Design
Decide on the type of Watermark maker for photos you want to use. It could be a text-based watermark with your name, logo, website URL, or a combination of these elements. Alternatively, you can create an image-based watermark using a logo or a signature.
Step 2: Select a Watermark Creation Tool
There are various software applications and online tools available for creating watermarks. Some popular options include:
- Adobe Photoshop: If you're familiar with graphic design, Photoshop offers robust tools for creating custom watermarks.
- Canva: Canva is a user-friendly online graphic design tool that provides templates for creating watermarks.
- Photo editing software: Many photo editing programs, like Adobe Lightroom, also offer watermarking features.
- Online Watermark Generators: There are websites specifically designed for creating watermarks. Examples include Watermark.ws, iWatermark, and PicMarkr.
Step 3: Design Your Watermark
Regardless of the tool you choose, the process of creating a watermark generally involves these steps:
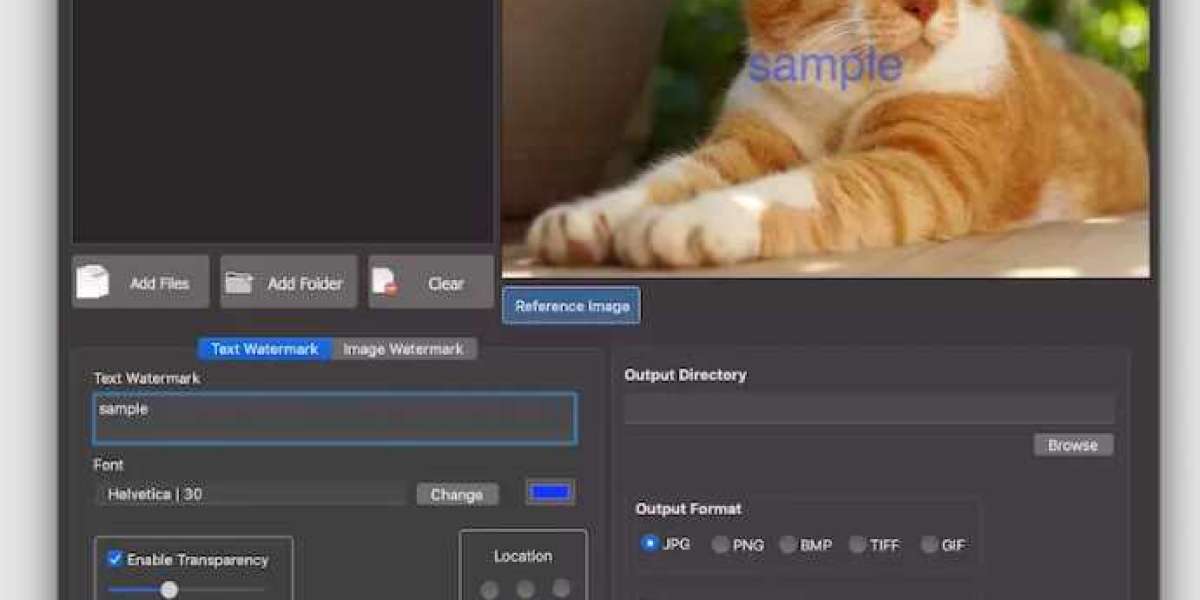
- Text Watermark:
- Enter your desired text (e.g., your name, website, copyright symbol) in the watermark creator.
- Customize the font, size, color, and transparency of the text.
- Position the text on the photo where it's visible but not obtrusive.
- Image Watermark:
- Upload your logo or image to the watermark creator.
- Adjust the size, transparency, and placement of the image on the photo.
Step 4: Apply the Watermark
Once you've designed your watermark, follow these steps to apply it to your photos:
- Single Photo:
- Use the watermarking tool to apply the watermark to your photo.
- Adjust the size and position of the watermark as needed.
- Save the watermarked photo as a new file to preserve the original.
- Batch Processing:
- If you have multiple photos, consider using batch processing to apply the watermark to all of them at once. Many watermarking tools offer this feature.
Step 5: Review and Export
After applying the watermark, review your photos to ensure that the watermark doesn't interfere with the image's quality or content. Make any necessary adjustments before exporting or sharing the watermarked photos.
Remember that the goal of a watermark is to be visible enough to deter unauthorized use while allowing viewers to still appreciate the photo. Finding the right balance between protection and aesthetics is key.
By following these steps, you can create professional-looking watermarks for your photos and enhance your brand presence while sharing your work online.
For more info. visit us: